How To Stratify Seeds
If you are a gardener already or are developing your skills, you might know how important it is to prepare the seeds first. Not all the plant seeds can get ready to sprout right away once you put them in the soil.
For instance, some of the most common hard-shelled seeds need a bit more attention than others, as well as more coaxing and a special temperature. The result? The trigger to the final of dormancy.
Both scarification, which is cracking the hard shell that embraces the seed, and stratification (actually creating the proper medium for the seeds), are simple techniques every gardener should master.
If you want to save a lot of time, frustration, and possible growth failures, keep on reading.
When it comes to seed germination, few people know precisely how to rush all this natural process.
Furthermore, few know that seeds require a cold medium for this treatment, so they can finally sprout properly. Keep scrolling to learn more about this cold treatment and which are the main steps to take.
What is Stratification?
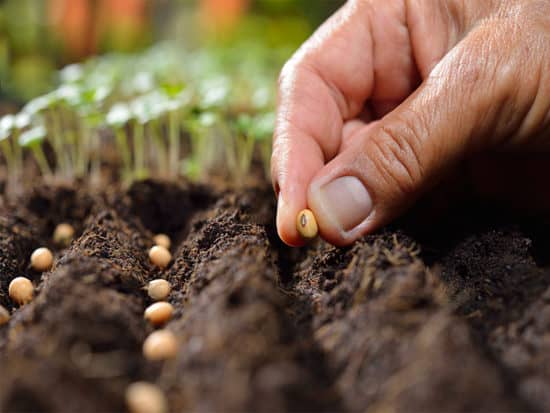
When they are in nature and not in a controlled environment, seeds require special conditions to germinate. So, during the seed stratification process, the seed dormancy is broken. By this time, the germination cycle can start.
The stratification method at home or into your garden requires some attention in order to be successful. People need to mimic or “fool” the seeds that they have the same conditions as in nature that they need to break dormancy.
The process might be different from a seed type to another.
Most of the plants need cool treatment. On the other hand, some seeds need both a cool moist medium and a dry cycle with warm periods to germinate.
Therefore, it’s essential to know what seeds need a specific stratification type. This being said, start your seed stratification project with the exact notion of the seed type you plan to use.
Is Cold Stratification Mandatory?
Is this process really necessary?
Well, this is why we insist on this article with this procedure. Cold treatment for seeds is really necessary, so the trees and plants that are usually staying on the ground over winter to be able to germinate.
People’s methods and periods of time when they put the seeds for stratification are different. For instance, some prefer to start the cold treatment in the late summer, or in the late fall.
The best way to prepare and stratify the seeds is by putting them in a pot of soil, then digging the container into the ground. By doing this easy procedure and treatment, the seeds will start sprouting right in the spring.
However, some gardeners might prefer to start the treatment in the early season. If this technique seems to be the best one for you, then you will want to soak all the specific seeds for 12 to 25 hours, then leave them in a plastic bag. If you have that kind of sealable container or a plastic bag with a zipline, then it’s perfectly fine. Now, it’s time for equalling the amount of peat and sand into the bag.
After following all these steps, it’s time for sealing the bag or the container and leave it in the refrigerator for about 10 days.
Tips!
Some seeds perfectly resemble others. As such, we would recommend you to label all the containers and the bags, so you will know which seeds they are and what you will be planting in the spring.
Don’t forget to check the seeds regularly, so they don’t miss a moist planting medium. The best time to do this is after 10 days when you can notice if they are sprouting or not. If they did not already, it means they might require a longer period of cold time, as well as better wet conditions. So don’t worry anymore if these seeds don’t start sprouting after a short period of time.
Furthermore, some seeds will require time in the freezer, so they can finally break dormancy and be ready for plantation.
What Is Dormancy?
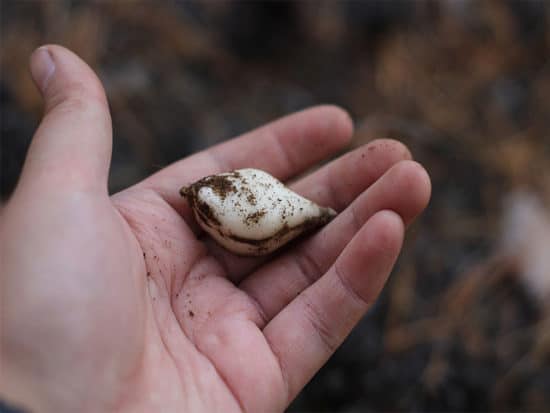
Before learning about helping the seeds break their dormancy, I thought it would be exciting and helpful to know some general dormancy facts. This coating, called dormancy, is a genetic shell that seeds are growing inside them to help stop germination.
Even when there are proper germination conditions, such as moisture, ideal soil, and perfect temperatures, dormancy will stop germination from occurring.
Depending on the type of species, there are different moments and periods for the dormant, and the length of them is not the same as well. It all depends on the plant’s physiology and anatomy.
Here are the three categories of seed dormancy:
Innate Dormancy
Usually, this type of dormancy exists in fresh seeds, those which have a genetic mechanism that slows down the sprouting process until the right season comes.
The innate dormancy does its work even the soil and the environmental conditions are the proper ones for germination.
In areas with temperate seasons, the mild temperatures during the winter season might produce different hormonal trades within seeds. When the temperatures go higher, the embryo inside the dormancy continues to grow.
Induced Dormancy
These dormancy types are available to those seeds that might start germination soon.
An essential role in this whole process is played by the birds, insects, as well as the wind, which takes the seed and drops them anywhere, without taking into account the improper conditions for germination.
Now, many of these seeds are dropped on the soil surface and experience different physiological changes.
Unless they do not have enough water, oxygen, or water, these seeds cannot start germination. In the end, all those seeds will move closer to the soil surface, where they can meet the ideal environment for germination.
Enforced Dormancy
As you already know, the seeds that don’t get enough warmth, water, or light, cannot start the process of germination.
But, as long as they have finally access to everything they need, they start thriving and growing. So the life cycle begins.
If you keep the seeds in a dry place for a long period, they will lose their dormancy, as they are deprived of their essential conditions. However, even in these environments, an embryo can start developing inside this coat.
Stratification and Scarification in Nature
Before talking about “in-house” stratification or the artificial one, it’s essential to know how this process works in nature. Some seeds, such as lotus or morning glories, have outer shells extremely hard.
Because of this specification, the water will hardly enter through. However, the strong cover will allow these seeds to remain dormant during the fall and winter until it is ready to grow.
In the process of scarification, animals can be a real help. They usually eat these hard seeds and digest them. This is how strawberries make their way out in and around the garden.
Another common way to stratify seeds and help their cracks open is by living them outdoors in the cold winter. This constant freezing will be enough for them to open and start germinating.
But let’s find more about this method and some others that will help your seeds be prepared for the spring to come.
Cold Methods For Stratifying Seeds
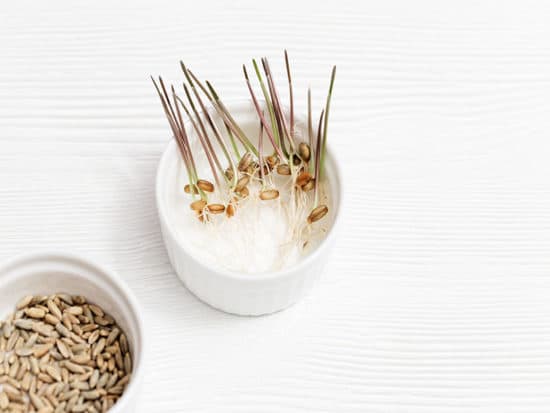
The cold treatment of stratification is by far the most common, yet the one with the best results on multiple types of plants. Let’s follow the main steps in stratifying seeds using the cold method.
Few Things To Know Before
Usually, most seeds from plants coming from temperate areas have a remarkable survival method: they require cold temperatures to germinate. This is a normal yet biological process that takes place in our gardens during the wintertime.
In an evolutionary sense, this process makes a lot of sense. Otherwise, if this whole process would not happen during winter, then germination would start in the autumn, and then, the young little plants would succumb to the icy coating.
As such, what gardeners are basically doing is to imitate the power of nature and a jump-start on the germinating season at any time of the year. What professional gardeners and rookie ones do is to chill seeds artificially.
This whole process is known as stratification, as I already mentioned above.
By spring, after gardeners have germinated all the seeds indoors, they will enjoy some good-sized transplant, rather than small seeds, that would naturally germinate.
You can find available seeds on the market today that have already been stratified. However, if you do the stratification on your own, at home, then you need to pre-treat the seeds until they germinate indoors in the pots you have prepared.
Stratifying Seeds – Main Steps
Here we are, at the most expected part of our article, the steps you need to stratify the seeds.
First things first, let’s discuss the best mixes of soils, the ones which are most suitable for stratification. Peat moss works well, especially for small seeds, unless you sift this soil first and then use only the finest particles.
Once you have sifted the peat moss, it’s time to dampen it and add one part of horticultural sand or vermiculite to four parts of the peat moss soil. This way, you can improve the aeration, an essential aspect in stratifying seeds.
If you are dealing with larger seeds, then you can mix half vermiculite and horticultural sand.
Step One: Take a small bowl, whether it’s a plastic or a glass one, and place a handful of the soilless mix we mentioned above. Make a wide whole right in the center of the bowl and place as many seeds as you wish. Once you have done that, it’s time to cover the seeds with a little more soilless mix of soilless, then remove all the seeds and the mixture from the bowl.
Once you have done all these steps, you are ready to gently squeeze out all the water excess from the mixture, but making sure you do not compact it too much.
Step Two: Place the mound you have obtained into a resealable plastic bag. At this stage, a great tip is to label the bags with the species’ names, as well as the date you have stored the seeds.
Now that you have also labeled the container, leave it in a warmer place. Pick a spot somewhere on the top of the furniture or refrigerator, and allow the seeds to stay there for at least three days. During this period, they will take up the swell and water they need. Then they are ready for chilling.
Step Three: Take the bag from the warm place you have stored it, then place it into your refrigerator’s meat drawer. This spot in the refrigerator is usually the coldest area. Ensure that the temperature here is about 4 to 5 degrees Celsius. However, the seeds mustn’t freeze, so try to control the temperature.
Once or twice a week, take the bag and start shaking it. This process will keep the seeds aerated for a long period.
After you allow the seeds to stay in this chilling period, then they are ready to come out from the refrigerator. Take the larger seeds from the bag, as they are ready to be sown 5 millimeters deep.
You can use some pots that are filled with growing medium. Cover everything with the seed-starting mix.
Regarding the smaller seeds, you can leave them in the soil less compound, then sow them directly into containers. These pots should be filled with a commercial seed-starting mix, as it will work great as a stratifying medium.
Place these pots or flats in a warm place, such as in front of a sunny window right until they are ready to be transplanted outdoors when spring comes.
Seeds That Require Cold Treatment
Before using the methods above, it’s important to make sure the seeds work well with the cold stratification.
Some plants need cold seed methods, so they can start germination. Here are some common plants that need cold treatment for their seeds:
- Butterfly bush Fuchsia
- Ironweed Chinese
- False Sunflower
- Perennial sweet pea
- Hady hibiscus
- Lavender Verben
- Catmint Evening
- Rudbeckia (or the black-eyed Susan)
- Sedum
- Hen-and-chicks
When it comes to Chokecherry fruits and vegetables, these plants usually need to grow in a warm area. Considering this aspect, these fruits’ seeds might need a longer cold stratification. In that case, gardeners should turn to cold stratification.
Scarifying Seeds
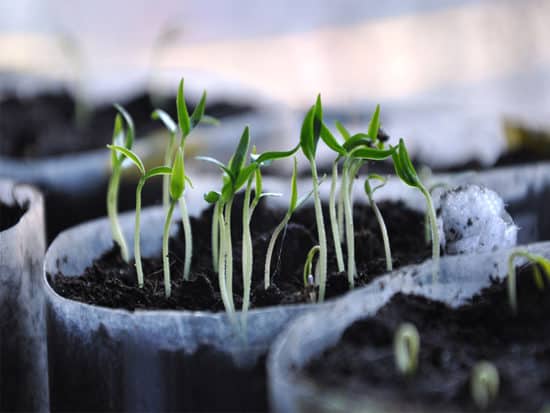
Despite the stratifying method, sometimes, certain species of plants need water tightness, as well as a solid hull, so they can finally make their dormant period through winter. However, the seed needs water to begin sprouting, so here comes the human help.
You can scarify the seeds by using these methods:
Boiling Water Scarification
In this stage, you need to bring some hot, boiling water, at 82 degrees Celsius. Add the seeds to this water and let them soak. When the water cools down, it’s time to take out the seeds. Some of the seeds will drown to the bottom.
Those seeds that will stay on the surfaces might not sprout. Before putting the seeds into the boiling water, you can store them in the freezer.
Hands-On Scarification
If you prefer the lazy method, then you can do the scarification by rubbing the seed gently. Use sandpaper or a knife, even nail clippers. Take care not to damage the seed inside during this process.
Some types of grains are more challenging to scarify than others. As such, if you have trouble with some of them, use the hot water method mentioned above.
You can scarify the seeds using sandpaper, and a jar. Start shaking them until they change their color.
Outdoor Scarification
This method is very simple. You just leave the seeds outdoors until the winter temperatures will do their job and naturally produce the scarification.
Last Thoughts
See? The seeds you have bought and the package instructions do not seem rocket science anymore.
Hope I have offered you a lot of information about how seeds germinate, as well as how plants develop. Humans can beautifully participate in this honoring process. As such, winter should have a special place in your gardening routine.
If you discovered any other secrets about stratifying seeds, let me know.
