How to Harvest Kale
Learning how to harvest kale is as important as knowing what growing conditions kale needs to thrive. Kale is such a humble vegetable.
It is an easy to grow and affordable plant. On top of everything, kale is healthy and doesn’t have a lot of calories.
Therefore, if you’ve decided to grow kale at home, congratulations! You won’t regret growing this green superstar. But, to help you use kale to its full potential, I’ll share the best way to harvest it.
If you do it right, the plant will continue to grow and reward you with more edible leaves as it grows. On the other hand, improper harvest stops development and growth.
Quick Answers: How to Harvest Kale?
Kale is healthy, low-maintenance, and cold-hardy vegetable. It is excellent for soups, salads, and stews, and you can use leaves and stems.
Harvesting kale is possible in two stages – baby kale and mature kale stage.
Baby kale occurs around 25 days after planting, while kale matures approximately after two months after planting. Here is how to harvest it to keep the plant growing new foliage:
- Start on the lowest parts of the stem.
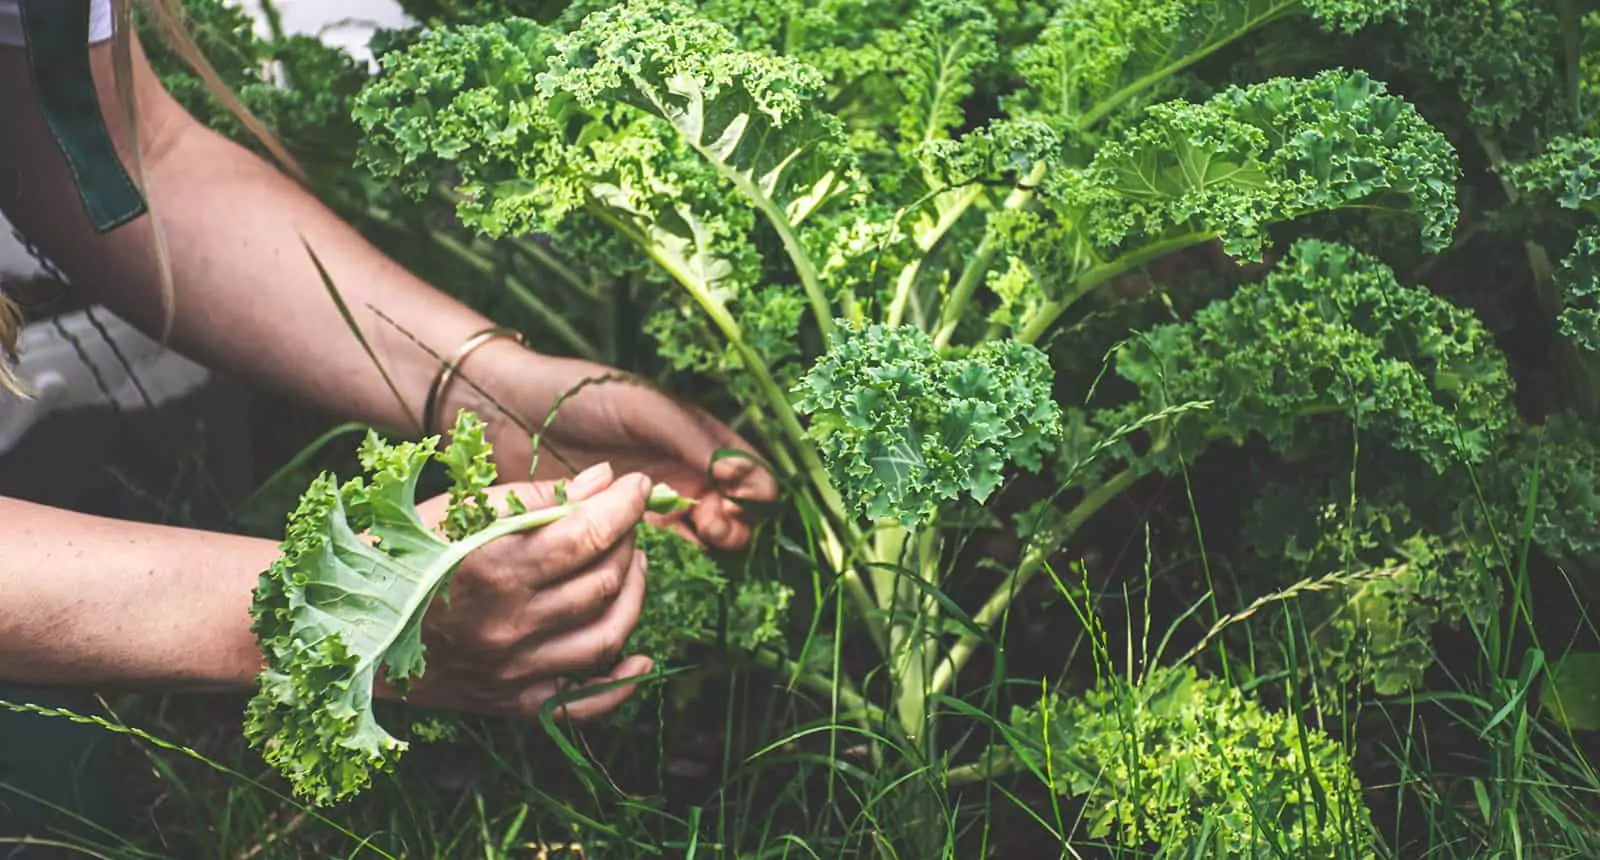
- Use sharp garden scissors or your fingers to cut or pinch leaves, close to the stem.
- Move upwards to the top of the plant, harvesting only outer leaves.
- Never take terminal bud, it will prevent the plant from growing new foliage.
- Take older leaves and toss yellow, brown, and damaged leaves.
- Eat baby kale fresh in salads, or add mature kale to soups and stews.
What Is Kale?
Kale is a nutritive superstar. This cold-hardy crop belongs to the Brassica family and is close relative to broccoli, Brussels sprouts, and cabbage.
Kale is hardy in USDA zones from two to eight, which makes it one of the most widely available green vegetables. You can plant it in early spring or fall.
People grow it from seeds in the spring, approximately three or five weeks after the last frost.
However, kale thrives in the fall, because cooler weather enhances sweet aromas and makes it more resistant to outside temperatures.
Kale isn’t hard to grow. Gardeners call it a low-maintenance plant for many reasons. It is also a versatile companion to other plants in the garden and an excellent ingredient in the kitchen.
I love adding it to my omelets, but it works great for casseroles, stir-fries, salads, and other dishes.
What Does Kale Look Like?
Kale isn’t just a curly cabbage, as some people may name it. Let’s discuss kale appearance in detail, so you would understand why proper harvest technique is important.
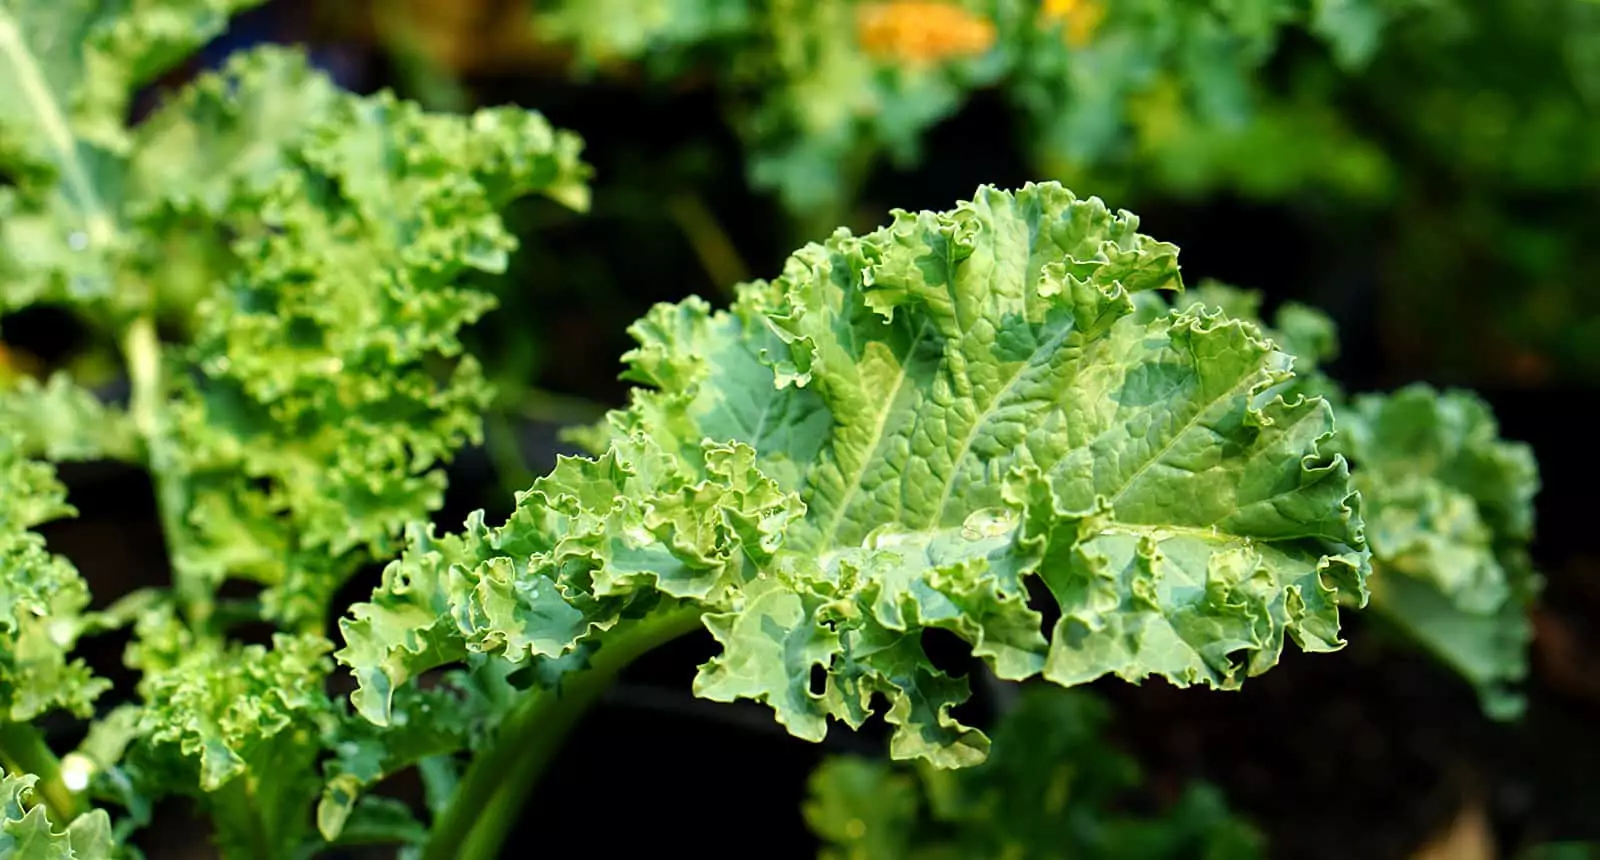
As described in Britannica, kale has elongated foliage which makes a rosette. The leaves are wavy and have blue-green shades.
Some varieties have light green, red, and even purple foliage. The main stem of the kale plant is tall and reaches an average height of 24 inches (1).
Long, inner leaves don’t form the head, which differentiates kale from some cabbage varieties.
Kale Basic Care for Abundant Harvest
Before you learn how to harvest kale, find out how to care for it, so you’ll be rewarded with plentiful and steady crops.
Growing Kale From Seeds
Kale matures in warm temperatures, but you risk it turning bitter in warm weather. I learned I don’t have that issue when I leave the plants to mature during chilly weather.
I recommend starting seeds indoors, a month before the last frost. That way, the plant will be ready for transplantation before the heat starts.
The plant needs between 55 and 75 days to mature when planted directly in the ground.
Sowing seeds indoors will speed up the process, and kale will be ready for harvest in around 40 days.
One thing I learned over the years is that kale likes medium-large space. Sow seeds with 12 to18 inches distance between each other to ensure that plants get enough sunlight. If you plant kale too densely, thin it out to allow the plant to develop.
Once the summer ends, you can plant kale once more in the fall, two months before the first frost. You can keep harvesting kale even after the first snow!
However, if you want to ensure more crops throughout the season, plant new seeds (or transplant from indoor containers) every two weeks. As you harvest older kale, new plants will mature and ensure a regular supply.
You can see this video to know more:
Location and Soil Quality
If you are planting in the fall, ensure that the planting site for kale receives enough sunlight. When you plant in the spring, sow the seeds in partial shade.
Kale is a versatile vegetable that can be planted near other veggies and herbs. You can start it near beets, onions, spinach, potatoes, and celery.
However, planting it near tomatoes, strawberries and beans may cause troubles with pests and stunted growth.
For best results, kale needs moist soil. If you add compost to the soil every two months, kale will thrive.
You can use fish emulsion lightly at all times.
Caring for Kale
Young kale plants benefit from placing row covers. It can keep the plants safe from flea beetles and unexpected temperature shocks.
Regularly inspect your crops and remove leaves that look sick. Add compost and water to keep the plants moisturized and fed. It will reduce the issues with insects.
Mulching around the central stem is beneficial for the roots. Use a straw to mulch and help the plant consume more water and food.
You can see this video to know more:
Which Parts of Kale Are Edible?
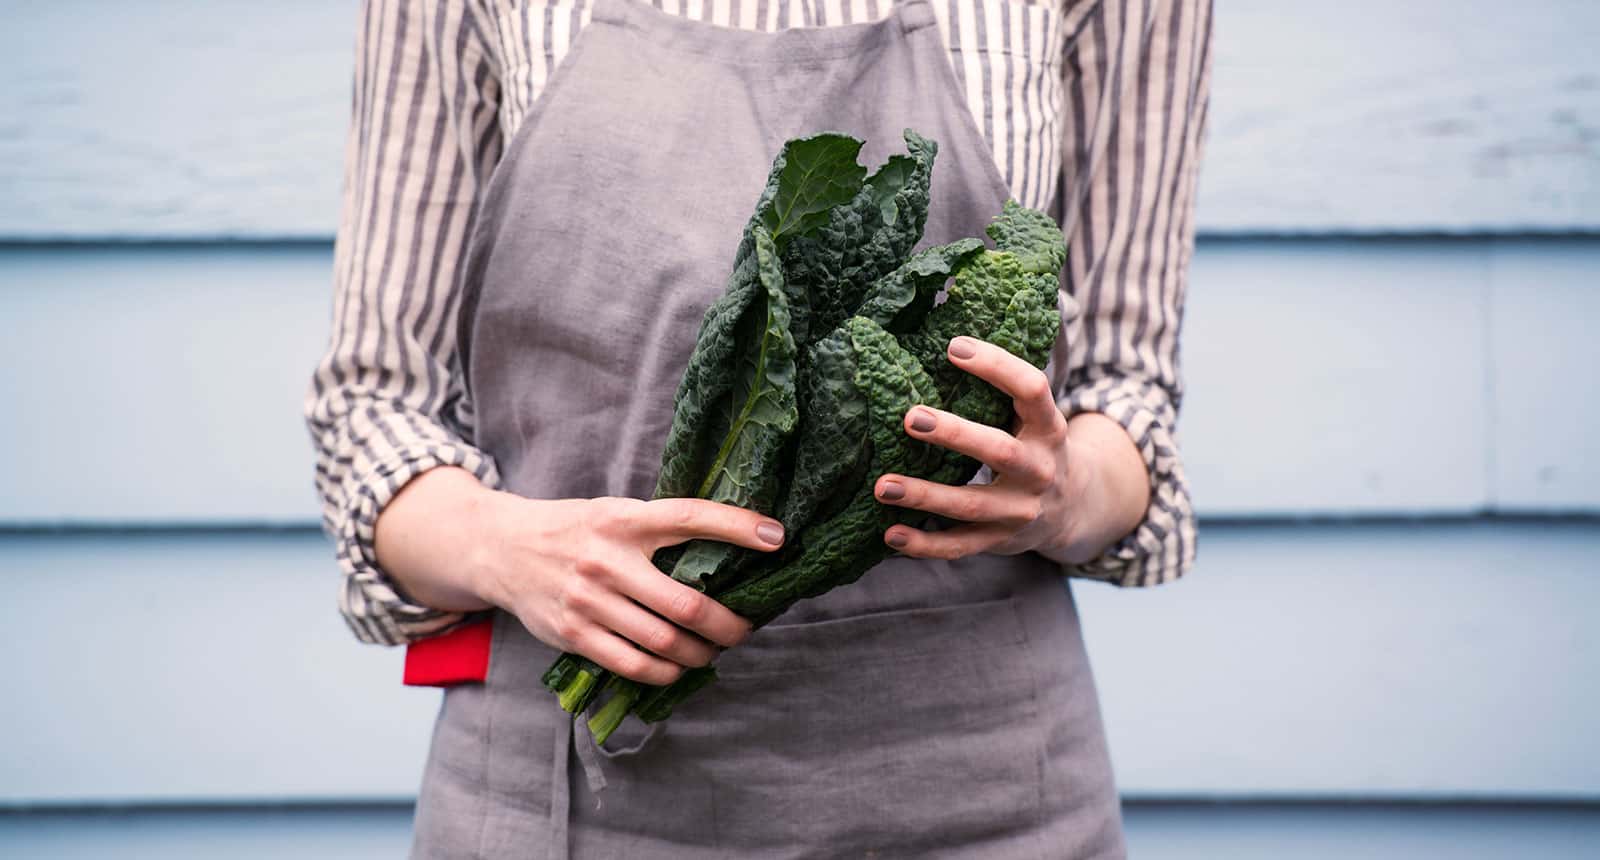
Kale is one of those plants you can eat whole. Kale stems are thick and edible. They can add crunchiness to your dishes when cooked. Leaves are also edible and you can eat them raw in salads, unlike stems.
I like to add whole kale with stems and leaves to the blender when I make a green smoothie drink at home.
Stems contain a lot of fiber, so if you are looking to reduce fiber intake, you can toss them away.
Taking leaves from stems is easy to do. Wrap your hand around the lower part of the stem and move the hand to strip leaves. You can also pick leaf by leaf from the stem.
You can see this video to know more:
How to Choose Kale for Harvest?
Raw kale has a mild flavor, but sometimes you might end up disappointed if you don’t choose it well.
If you plan to eat kale raw and within a day or two, the best is to pick plants with small leaves. They will have just the right tenderness and flavors.
Large leaves are tough and better for cooking.
If you notice tiny holes or blemishes on the foliage, remove those leaves and toss them. Those can be the signs that kale has been infested by insects.
Also, avoid yellow or brown leaves. They don’t have enough aromas and taste bitter.
Because stems are edible as well, inspect them for insect damage. Moist and crispy stems are the most delicious.
How to Harvest Kale: Complete Guide
There are a few things to know to harvest kale the right way. It includes timing and technique, and luckily, I’ll discuss everything!
First, let’s start with the appropriate timing for harvest!
When to Harvest Kale?
Kale is ready for harvest when the central stem is around 12 inches long.
The leaves should be at least the size of your palm. Larger leaves are tough, while young leaves are tender.
However, the time your plant needs to mature for harvest depends on the variety. When planting kale, you can check the back side of the seed packaging to see how many days your plant needs until it is ready for harvest. For example, Russian kale is ready for harvest sooner than lacinato kale. The maturing period for kale goes between 35 and 75 days.
However, you should know that you can harvest kale in different growth stages – baby and mature kale.
Also, you can wait until the first frost passes to harvest kale for the first time that season. Frost will make your kale taste sweater. But, you have to pick planting dates wisely if you prefer sweater kale.
Check the long-term weather forecast to find out when the first frost is expected. Then, check how many days your kale needs to mature.
Pick one date seven days after the first frost, and count backward the number of days kale needs to mature. That is how you’ll get the exact planting date.
How to Harvest Baby Kale Leaves?
Baby kale is great for use raw in salads. It has a delicate texture and mild flavor. For most varieties, baby kale leaves are ready to harvest between 25 and 30 days after sowing seeds or transplanting.
If you cared for it properly, the plant should have small leaves around the central stem. The yield is still quite small, but you should be able to pick 2-inch long leaves.
In this phase, kale grows quickly. So, if you prefer baby kale over mature kale, keep an eye on the plant from the third week after planting.
- Start by taking small outer leaves on the bottom of the plant.
- Pick leaves one by one, going as close as possible to the stem. You can use sharp garden shears to ensure clean cuts.
- Work your way from the bottom to the top of the plant.
- Don’t take all leaves from the plant, leave several small leaves on the central parts of the stem. Those will promote new growth.
- Wait five or seven days to harvest baby kale again.
You can see this video to know more:
How to Harvest Mature Kale?
A rule of thumb to follow is that you should never take more than one fistful per plant when harvesting mature plants. You can get plenty of kale to use fresh, but still, keep the plant productive and ready for new growth.
Here is how to harvest mature kale.
- First, inspect the plant for damaged or yellowed leaves.
- Remove and toss those leaves. Eliminating these leaves has a similar effect to deadheading flowers – it promotes new growth.
- Start on the lowest section of the plant.
- Cut the oldest leaves with garden scissors.
- Work your way upward by cutting old leaves, and leaving smaller, tender leaves to mature.
- Once you reach the top, don’t pick terminal bud. It promotes new growth.
- Use row covers to protect your plants from extremely cold temperatures.
- Come back after several days to harvest new leaves.
You can see this video to know more:
How to Store Kale After Harvest?
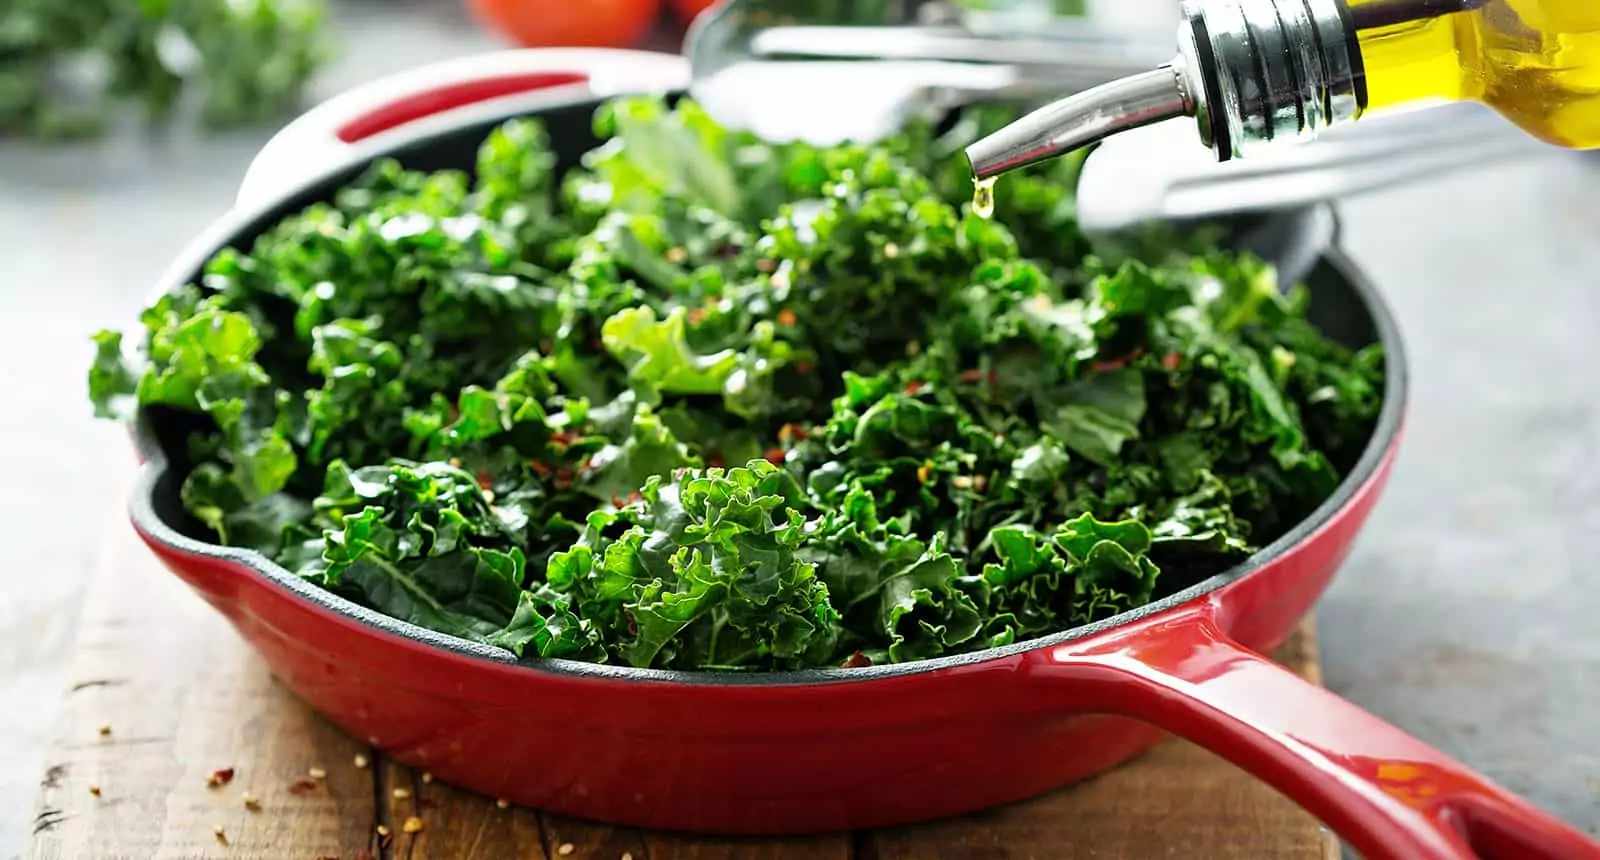
Kale is easy to store after harvest and allows you to use it in different meals for days. You can eat it with spaghetti, add it to pesto sauce, prepare sauces for tacos, and use it for other dishes.
After harvest, use small leaves raw in salads and store a bunch of large leaves in the fridge. To maintain the freshness of kale leaves, wrap the leaves bunch with a paper towel that will absorb excess moisture. Put wrapped leaves in a plastic bag with zip closure and put them in the vegetable drawer.
When you store it like this, your kale leaves will stay fresh for a week. You can also wash and prep kale and then store it in the fridge. If you wash and chop leaves before you put them in the fridge, dry them thoroughly. Chopped leaves will be good for use for the next three days.
Can you Freeze Kale After the Last Harvest?
If you don’t know what to do with a bunch of kale after the last harvest in the season, you can freeze them. Frozen kale is great for green smoothies and soups.
All you have to do is quickly blanch kale and put it in the freezer.
- Use a large pot with salted boiling water to blanch leaves for one or two minutes.
- Put leaves in a bucket with ice-cold water. It will prevent the leaves from cooking all the way and help them maintain the vibrant green color.
- Drain leaves, and sort them on a baking sheet. Put them in a freezer for two hours.
- Once leaves are frozen, pack them in freezer bags and keep them in the freezer for eight months.
Kale Harvest: Steady Harvest Ensures Steady Growth
If you don’t follow the correct harvesting procedure and start randomly taking out leaves, the plant will stop producing new ones. The same applies if you take terminal buds or don’t remove old and damaged leaves.
Proper kale harvest is as important as decent care. Starting on the bottom of the stem, and picking older, outer leaves, but not more than one-third of the entire foliage will ensure progressive growth.
Do you like kale? What is your favorite way to eat kale – raw or fresh?
If you learned something new in the article, please consider liking and sharing it!
References:
- Kale | Description, Nutrition, & Facts. (2021).
