How Do You Grow Dill
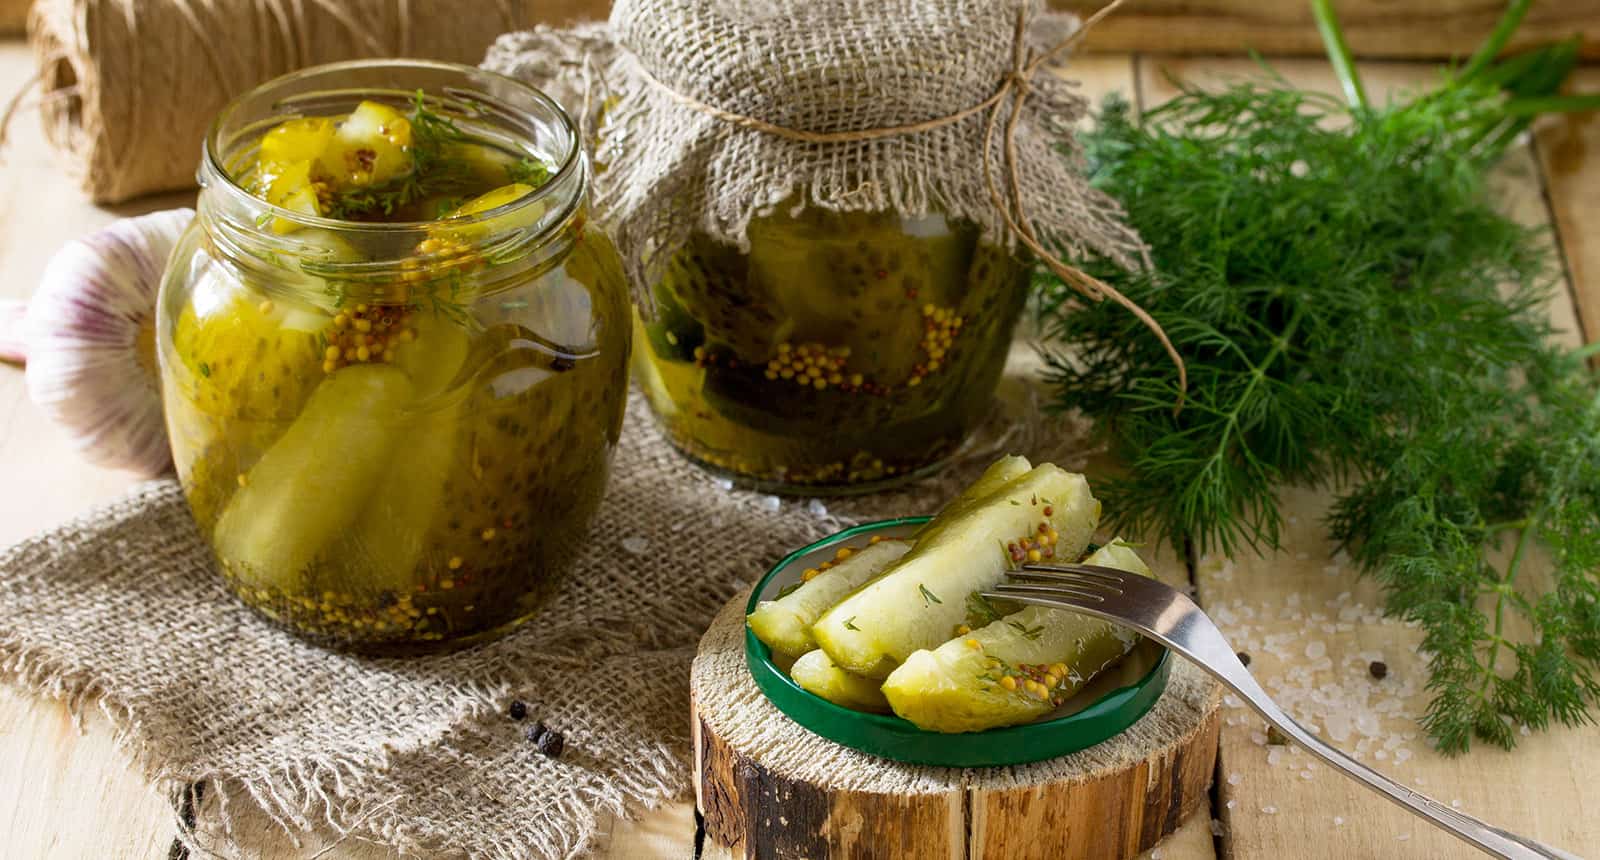
How do you grow dill? Dill is the secret ingredient to the most delicious pickled food, but it can do more than that. Growing dill at home isn’t difficult, and you have high chances to be successful.
I will share my insider tips on growing dill in your backyard or indoors. With dill, proper harvesting is as important as appropriate care. But, it doesn’t require you to be a gardening expert, you can grow your herbs easily by following the next few steps, from planting to harvesting.
Dill is not only a delicious addition to your meals, it can be a charming touch in your garden display. You can grow it alongside other vegetables to fill in the bald spots. But, knowing where to plant is the key.
How to Grow Dill – Quick Answers
If you are in a hurry, check the quick guide on growing dill in your garden by planting seeds or cuttings.
- Prepare your seeds by soaking them overnight before planting.
- Dig shallow holes with 14-inch distance in a sunny location.
- Put several seeds into each hole, cover it lightly with soil and water.
- Wait two weeks for the seedlings to appear and ensure one or two inches of water per week.
or:
- Cut large stems by angle and put them in water in plastic bowls.
- Change water every five days.
- Wait until stronger roots appear to transplant the cuttings into pots.
- Use a standard potting mix and transplant each cutting into a pot.
- Place the pot into a sunny location and water frequently.
What Is Dill?
Dill has a botanical name Anethum graveolens, and it is relative to carrots. Surprisingly, don’t plant dill near carrots if you want the best results, because it can attract carrot flies or cross-pollinate (1) .
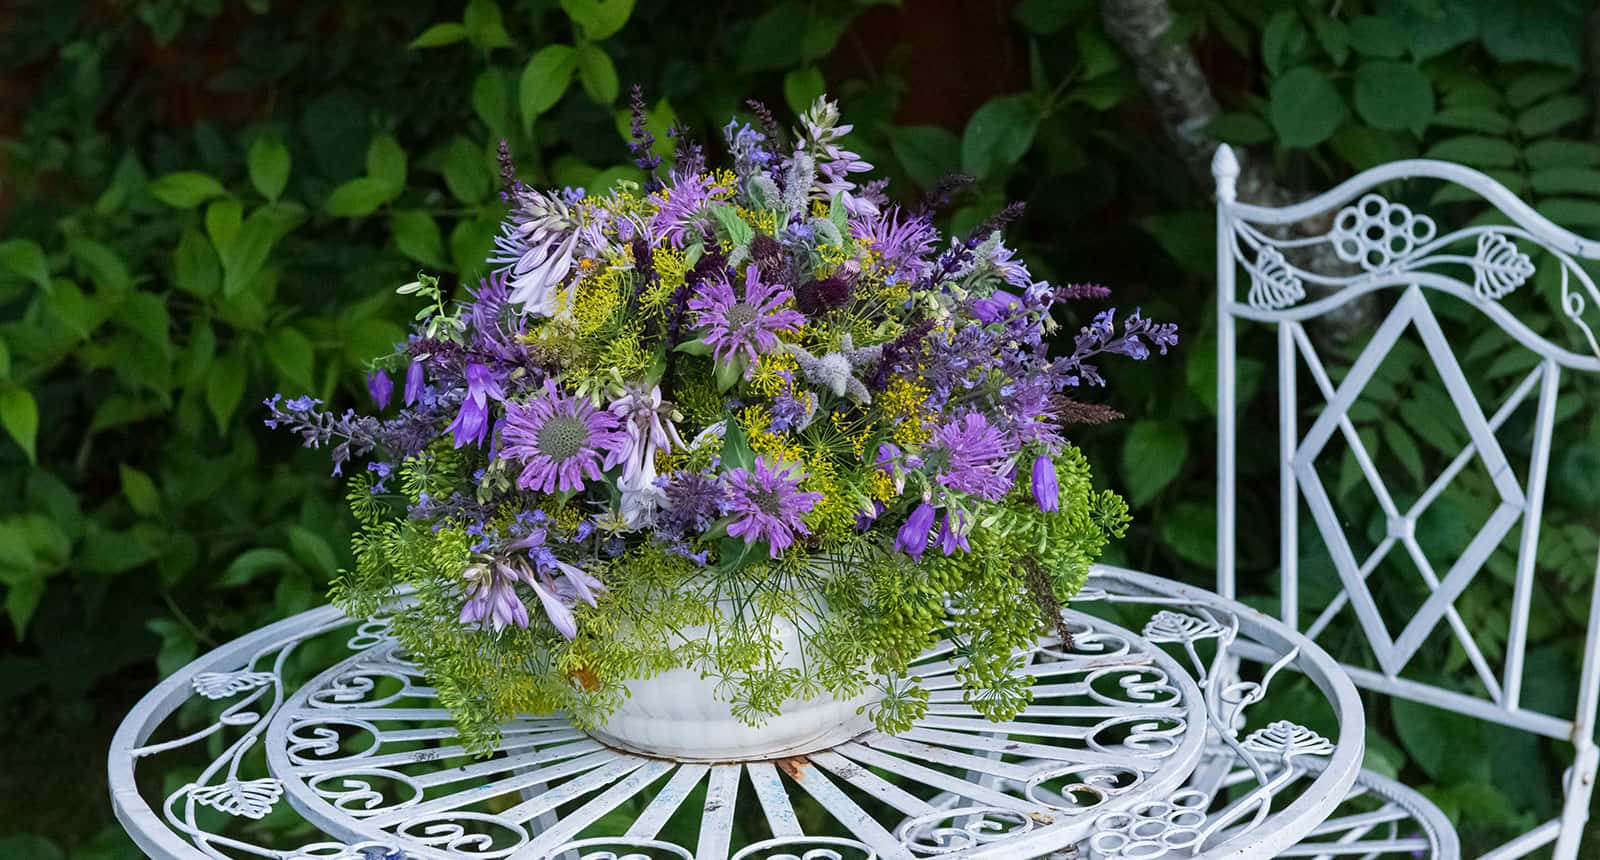
Dill was brought to us from Asia and the Mediterranean area. While it is mostly used to pickle food, some parts of the plant are an impressive addition to soups, bread, and some seafood dishes. Experienced florists use dill as feathery filler in flower arrangements.
Dill can be grown in almost all climates. In USDA zones from three to seven, dill thrives in summer, while people in zones from nine to eleven can successfully grow dill in winter. But the plant cannot survive frost and cold temperatures, lower than 25 degrees Fahrenheit.
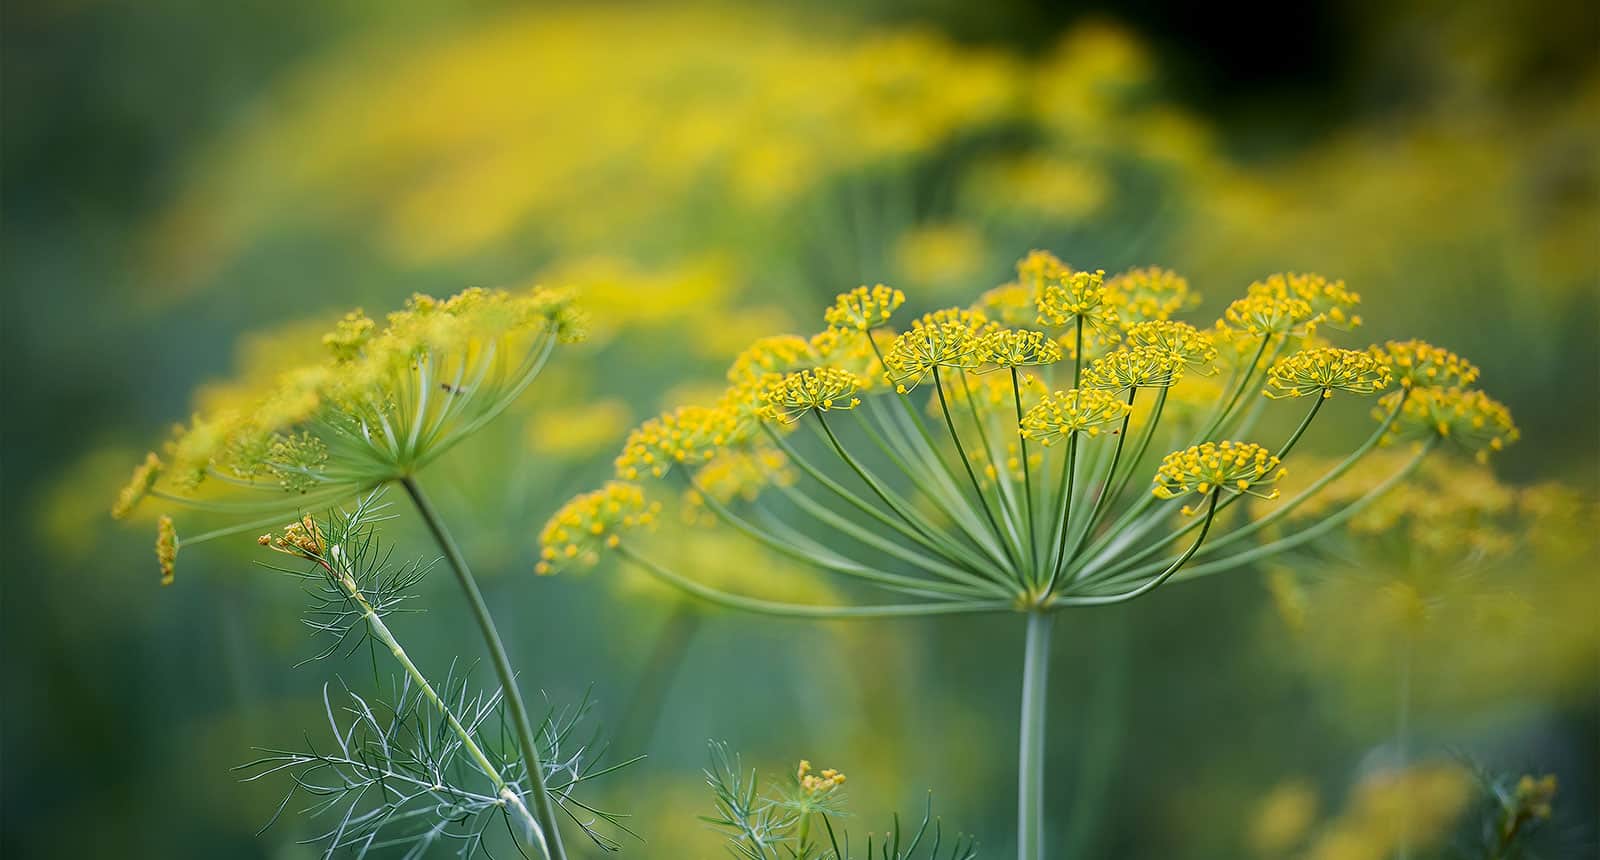
It is a moderately tall plant with fine leaves. They have a specific green-bluish color and resemble fennel. But, dill leaves are smaller and appear on tall and hollow stems. Sometimes, two or four feet stems can have green and white stripes. It has an almost feathery appearance with its small yellow flower clusters.
How Do You Grow Dill Successfully?
The first thing to determine when growing dill is the location and the time for planting. I will cover every aspect of growing dill at home!
Choosing Dill Site
The ideal location for growing dill is a full sun site. Dill doesn’t grow well when exposed to strong wind, so make sure you shelter the location either by other plants or by mechanical barriers, such as a fence.
The soil needs to be well-draining for dill to grow to its full potential. Ideally, the soil is neutral to slightly acidic. The best soil pH for dill is between 5.8 to 6.5 (2) .
You can improve the quality of the soil by adding aged compost to the soil and loosening it up before you plant seeds.
When to Plant Dill?
Dill is one of the plants, such as carrots, that don’t do well when transplanted. Therefore, sow dill seeds directly into the planting beds you prepared in your garden.
Check frost dates for your area. Wait after the frost has passed and the soil has warmed up to sow the seeds. Ideally, the soil temperature needs to be between 60 and 70 degrees Fahrenheit to ensure the most desirable germination.
In about two weeks, you can expect to see the first seedlings (3).
If you want to harvest dill continuously until the winter, sow new seeds every three or four weeks.
It will ensure a continuous harvest of fresh dill whenever you need it!
You can see this video to know more:
Planting Dill Seeds Step By Step
Take notes – here is how to plant dill in your garden.
- Start by soaking dill seeds for 12 hours the day before you want to plant them.
- Dig several 1/4-inch deep holes in rows.
- Make sure that each hole is at least 14 inches apart from the other. Position the rows at least two feet from each other.
- Use three to five seeds per hole.
- You can start by sowing ten seeds and resowing the same amount every three or four weeks.
- Cover each seed lightly with soil and water thoroughly.
You might want to know more:
How to Grow Dill From Cuttings?
The alternative to sowing seed is growing it from cuttings. Generally, it is a simple method, but I wouldn’t recommend it for beginners.
Taking cuttings from herbs requires some practice, but if you are up for it, here is how to do it.
- Observe the plant and pick healthy growth for cuttings.
- Choose cuttings that are at least 4 inches long with large stems with foliage. The larger the stem is, the higher chances are that it will make new roots.
- Cut each cutting at a slight angle. It will simplify the healing process of old plants and promote new rooting by allowing the plant to take more water.
- Ensure as many cuttings as you can, because some cuttings will die, no matter how gentle you are when cutting and transplanting. It is always better to start with more cuttings!
- Put your cuttings in water. Ensure that the lower third of the stem is submerged in water.
- Change the water every four days, or more frequently if you notice that water changed the color.
- The roots will appear after five or six days but wait for three weeks so the roots will be stronger.
- Transplant the cuttings in a moderately deep pot filled with well-draining, fertile, slightly acidic soil.
- Tap the soil to ensure that the cutting is firmly placed in your pot.
- Put the pot in a sunny location indoor or outdoor, and water thoroughly.
- Wait until one month and a half for your plant to appear.
- Don’t be disappointed if not only several cuttings survive!
- Harvest the dill when the time comes and repeat the process to ensure a consistent flow of fresh dill.
You can see this video to know more:
Growing Dill in Containers
If you want to ensure your supply of fresh dill year-round, grow the plant indoors during winter. You can choose the cutting method or sow seeds indoors.
It is important to choose a container at least 12-deep because dill forms taproots. Standard potting compost, generous watering, and several hours of sunlight near the window will be enough for your dill to thrive.
If you have a window in your kitchen, you can grow dill there and always have it within hand reach.
You can see this video to know more:
Watering Dill for the Best Results
How much water dill needs is the next essential thing to discuss. During the germination period, the soil should be moist but not soggy.
Once you notice first seedlings you can reduce the watering to on average 1 to 2 inches of water per week.
During rainy days you don’t have to water the dill, the rain will do just fine.
But, during a drought ensure that dill is properly water every three days.
Ideal Light Conditions for Dill
Dill loves the sun, so it will grow well in sunny locations. If you grow dill in pots, you can leave them on a window on the south side. The pots will get enough sunlight.
However, if you live in a tropical climate, ensure afternoon or morning direct sun exposure to prevent dill from burning.
Fertilizing Dill
Dill doesn’t require excessive use of fertilizer. But, it might get a well-needed boost from a light application of 5-10-5 fertilizer. I recommend applying it in late spring, but not more than three ounces per ten feet of dill seedlings.
You can repeat the procedure in six weeks.
It applies to both outdoor and indoor plants, but you might want to reduce the amount for indoor dill.
Harvesting Dill
You can harvest seeds, leaves, and flowers that give the unique note to pickled food.
To find out when your dill is ready for harvest, I recommend waiting until the stems are at least 8 inches tall. Then, apply the old sniffing method and smell the aroma before harvest.
A rule of thumb to follow is that dill is best when harvested around 70 days after sowing seeds. It will ensure that seeds are ripe, and the flowers are at their peak!
You can harvest the leaves whenever you need them as long as the flower cluster hasn’t completely opened. Harvest them just before use because fresh dill loses flavor and scent soon after harvesting.
Start by taking older leaves with your fingers. Use them immediately after harvest.
Harvesting Seeds
Harvesting dill seeds is simple, but the timing is essential.
- Cut stalks with formed flowers before seeds changed color and ripen.
- Take those stalks and store them upside down in a warm, but vented room.
- Ensure that stalks aren’t exposed to direct sunlight.
- To promote seed ripening, put wrap paper bags around flower heads.
- Poke a few holes to improve air ventilation. The method with the bag is practical because as seeds ripen, they will fall don’t into the bag. Therefore, it is easier to collect them.
- You can store them in a container with a lid for a year and sow them next year in the spring when the frost passes.
- Check the seeds occasionally to ensure they remain dry.
- If you notice moisture, dry the seeds and store them again.
What Plants Can Be Planted Around Dill?
If you are wondering what plants can grow around the dill, you have many options in front of you.
You can grow lettuce, corn, onion, Brussels sprouts, broccoli, and other brassicas around the dill.
Never plant dill near peppers, eggplants, potatoes, and carrots. Dill should be kept away from lavender in your garden.
When placed too close to the mentioned herb and vegetables, dill can cause stunted growth. It has long roots which can interfere with the roots of other plants and attract pests.
How to Use Each Part of Dill for Cooking?
Now when you know how to harvest each dill part, let’s see what you can do with it.
Leaves
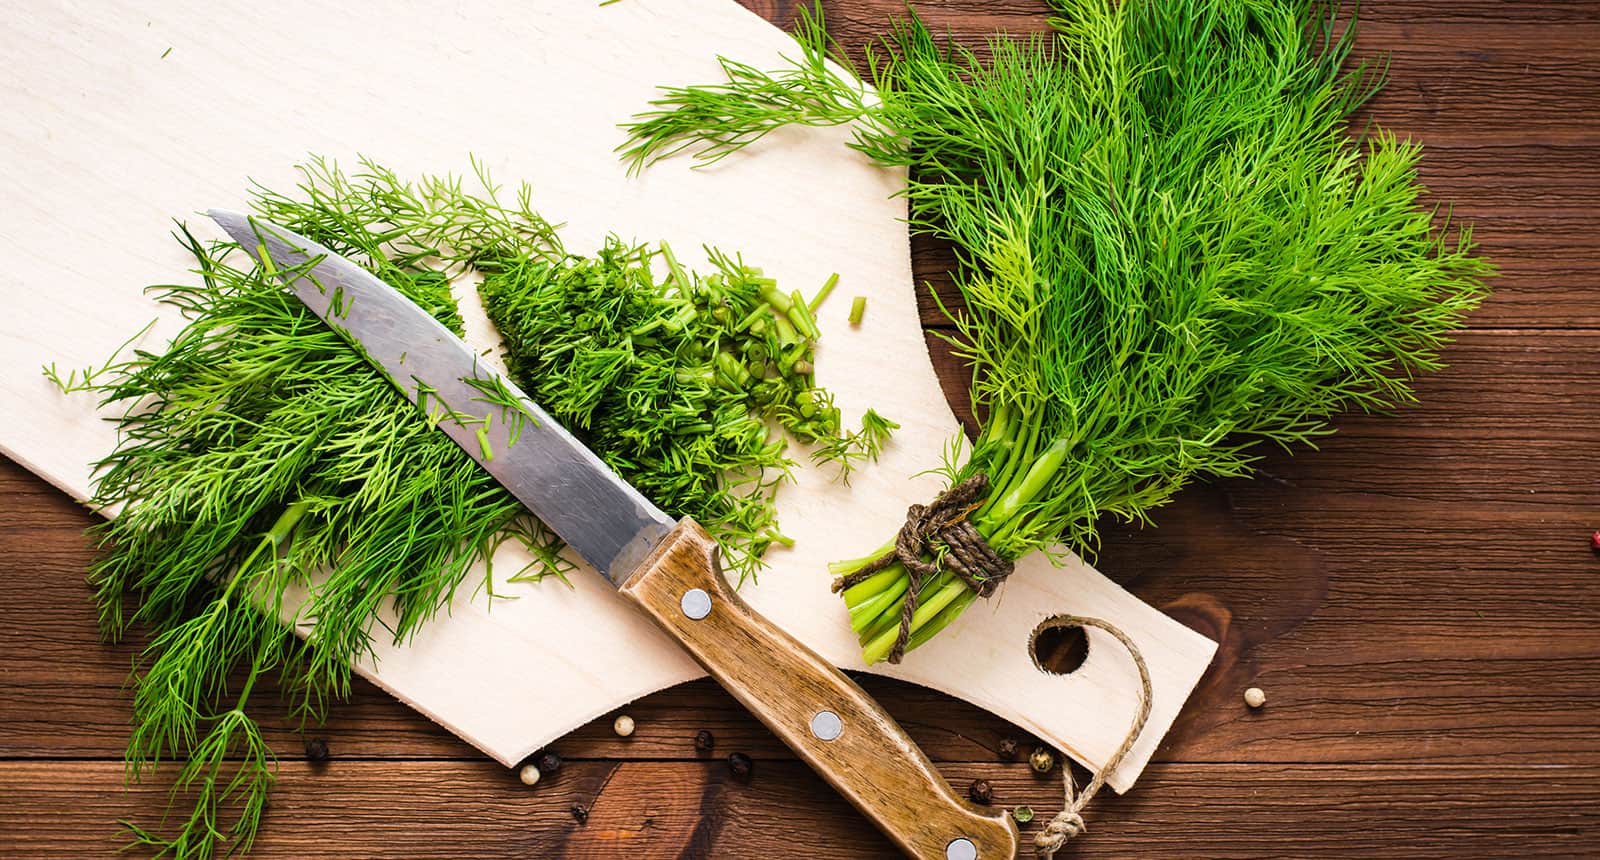
Fresh dill leaves add perfect aroma to salads and make the elegant garnish. If you heat them, they will lose the aroma, so add them just before serving. You can chop the leaves finely with scissors or mince fresh foliage. It will release all pleasant aromas.
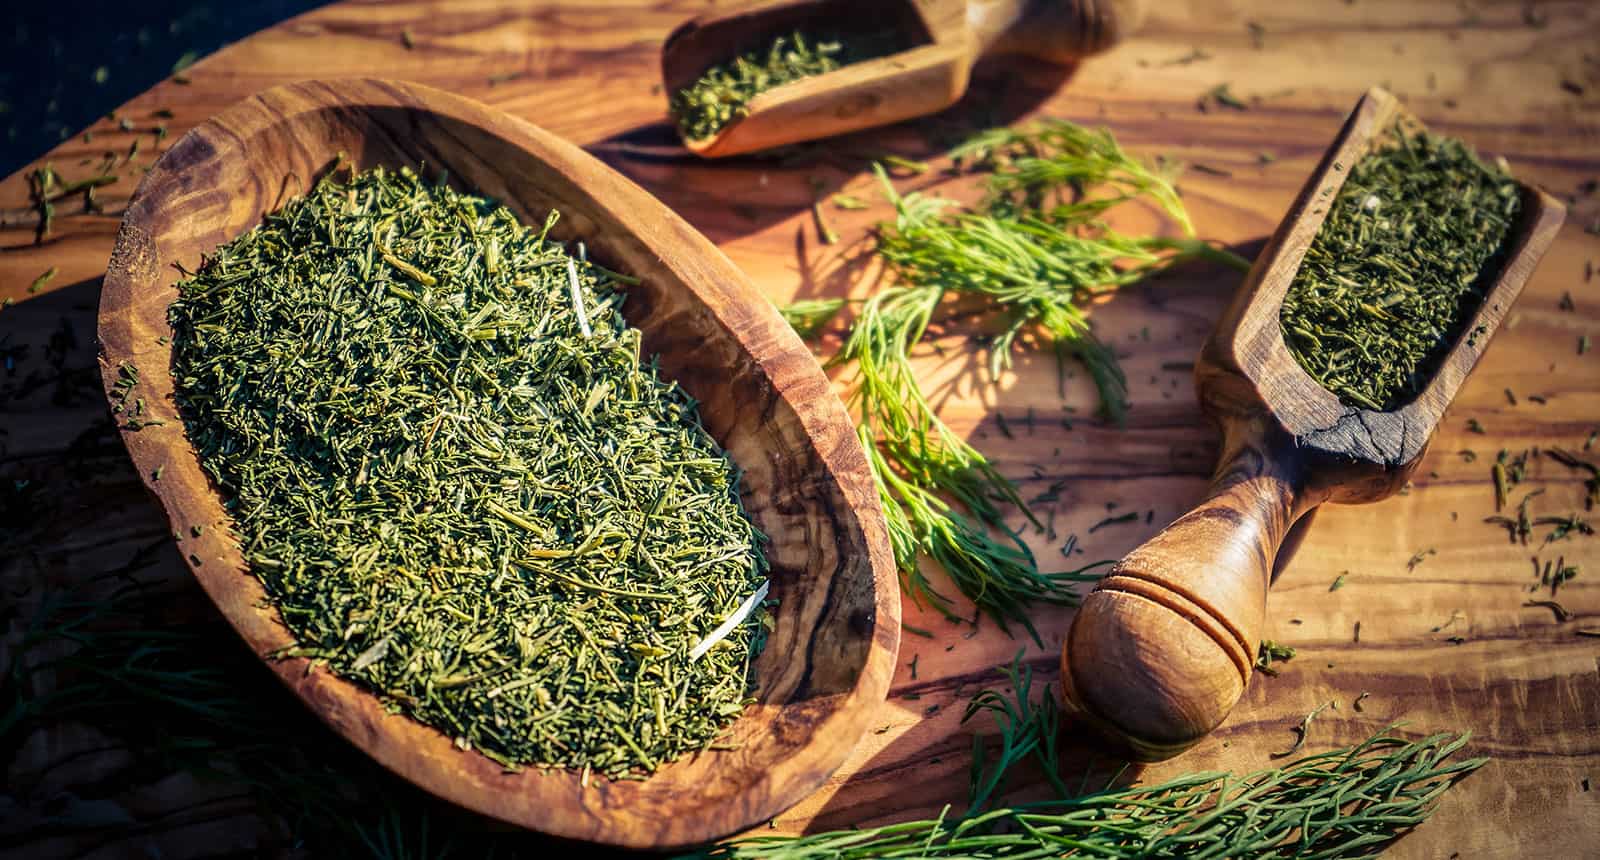
If you use preserved, dry dill leaves, you can improve the taste of meat, such as lamb, pork, chicken, and turkey. Dry, minced dill leaves are a common vegetable spice and irreplaceable addition to soups and stews.
Flowers
You can use flowers the same as leaves to boost the aromas. However, when you use dill flowers fresh, chop them into tiny parts and add them before serving.
Seeds
Dill seeds have a distinct, bitter taste. You can use it for homemade bread with seeds, or with dishes that need hours to cook. Slow cooking will release the dill aromas from seeds and enhance all other flavors.
The aroma from seed is stronger than leaves, but it takes time to release.
Therefore, you can add dill seeds to your pickled vegetables and let them sit for a while to get the best effect.
You can see this video to know more:
Dill Pests and Diseases
The major concerns when growing dill at home are insects and aphids that pass diseases.
Viruses
If your dill looks yellowish or has red spots, it is most likely the result of an infection caused by carrot mottle virus or carrot red leaf virus. These infections can cause stunted growth. Dill is especially prone to it if you plant it near carrots.
Try insecticide soap to bring your plant back to life and improve its growth. If it doesn’t help, you might have to remove the plant and plant it in another location.
Powdery Mildew
Powdery mildew can be diagnosed by observing the leaves and stalks for fungus. High humidity and over-fertilization are factors that increase the risks.
If it happens, you can apply fungicides to treat it, as well as sulfur.
When spotted early, powdery mildew is easy to treat.
Dill – More Than Just a Pickling Spice
Growing your own herbs is a great way to ensure a continuous stack of fresh spices for delicious meals. There are so many ways to use fresh dill for something other than picking. You can add chopped dill leaves into salad dressings to boost the flavors.
Try adding it to fish dishes, potato salad, and put a few dill seeds when roasting meat. It will make a huge difference!
Have you ever tried growing dill at home?
If you enjoyed the article, don’t forget to like and share it with other enthusiastic home cooks! They will appreciate every tip they can get!
References:
- What Are the Benefits of Companion Planting?. (2021). Retrieved 12 May 2021.
- Masabni, J., & King, S. (2021). Dill – How do you grow did in a garden or in containers?. Retrieved 12 May 2021
- Oakley, A., & Drost, D. (2021). Dill in the Garden. Retrieved 11 May 2021.
